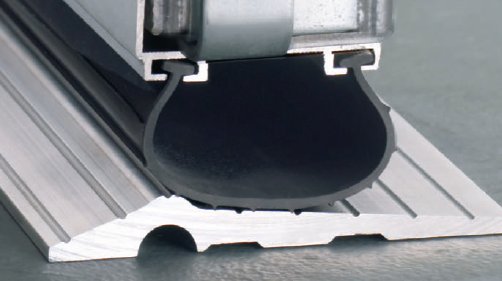
In order for your garage doors to be eco-friendly, you need to make sure that the door will be able to regulate the temperatures inside the house. Through this, the heating and cooling system will not be used too frequently which leads to saving energy and the environment. For this reason, you need to make sure that you install weatherstripping in your doors. Weatherstripping can also protect your garage from snow, water and even insects. This project is fairly easy and it does not take much of your time too.
- Begin with the garage door open. In order for you to manipulate the garage door manually, you need to disconnect it from the garage door opener by detaching the release cord.
- Since you will be installing new weather strips on your door, you would first need to remove the old stripping. Grab a pry bar and use it to separate the old weather strips from the door jamb. Do this carefully so that the door or the jamb will not be damaged. Simply insert the pry bar in between the strips and carefully separate them from each other.
- Most weather strips that are sold in hardware stores are made with different lengths. If you have a double- car garage door at home, then you can simply use the entire stripping. If the garage door is only for one car, you need to measure the door jamb and cut the stripping to its appropriate size.
- Install the weatherstripping for the top jamb first. Manually close door to begin. Start with one corner and make sure that the strip will fully touch the corner of the jamb. Hammer the stripping into place until you reach the other corner. Make certain that the stripping will slightly touch the residential garage doors. This creates a seal to separate the inside temperature from the outside.
- If the stripping is too short, grab another one and simply connect the two pieces without any spaces.
- Use the same technique when installing the strips for the right and left garage door jambs. Always see to it that the flap of the stripping will touch the door.


