
3 Signs Your Garage Door Isn’t Working Right
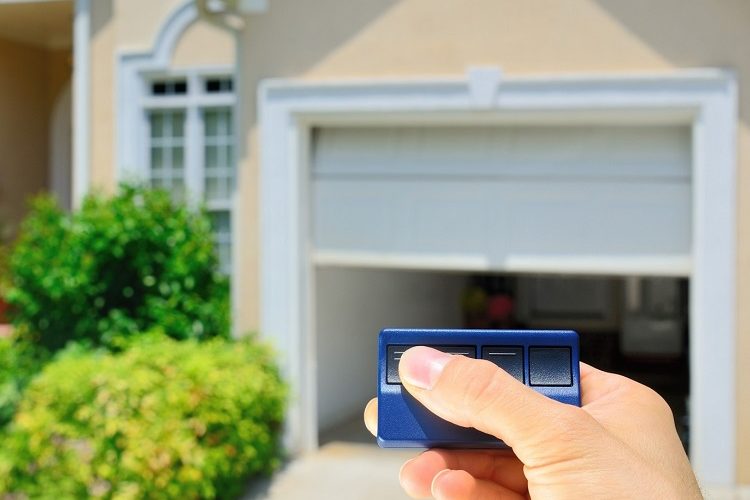
Wondering if your garage door is working properly? As commercial and residential garage door professionals, we’ve seen it all! In this article we will go over the top 3 signs your garage door isn’t working properly, and what you can do about it. 1. Garage Door Won’t Open If your garage door isn’t opening when […]
Top 4 Garage Door Problems
Garage doors are pretty straightforward. Simply press a button and watch them go up, then come down. This occurs nearly every day. However, even the most reliable garage doors will eventually experience functionality issues. In this article we will discuss the top four garage door problems you may encounter, and how to handle them like […]